The Snow-Day Family Transfer: Dress for Platform, Car and Play
Journey Inspiration / Snow transfer board
Build Warmth Around Every Handoff, Not One Forecast
The hard part of a family snow day is often not the snow. It is the sequence between a heated breakfast room and an exposed platform, between a vehicle seat and a play area, then back indoors with damp cuffs and four minutes to spare. Build the clothing plan around those transitions and the whole itinerary becomes easier to manage.
- Map each warm-to-cold change
- Keep one adjustment within reach
- Reserve time for the return
Transfer note 01
Start with the handoffs
A family snow day is rarely one continuous spell outdoors. It is a chain of short, awkward handoffs: warm lobby to windy pavement, pavement to station platform, train to shuttle, heated car to trailhead, and finally play to lunch. Dressing only for the coldest forecast ignores those changes. The useful question is where a child will wait, move, sit, and cool down. Mark those moments on the itinerary before choosing layers. A calm plan leaves room to open a zip, remove a midlayer, or add mittens without unpacking the entire case beside a departure board.
Transfer note 02
Read the route, not a single temperature
Forecast numbers need context. Wind on an exposed platform can feel different from still air beside a sheltered lodge, while sunshine and active play can quickly change how a child feels. Look at precipitation, wind, shade, and the length of each outdoor pause. Then compare those conditions with the indoor stretches on the same route. This is not about predicting comfort perfectly. It is about spotting the points where an adult can observe, ask, and adjust. Keep the most likely adjustment near the top of the day bag rather than buried beneath snacks and spare footwear.
Transfer note 03
Build from a quiet first layer
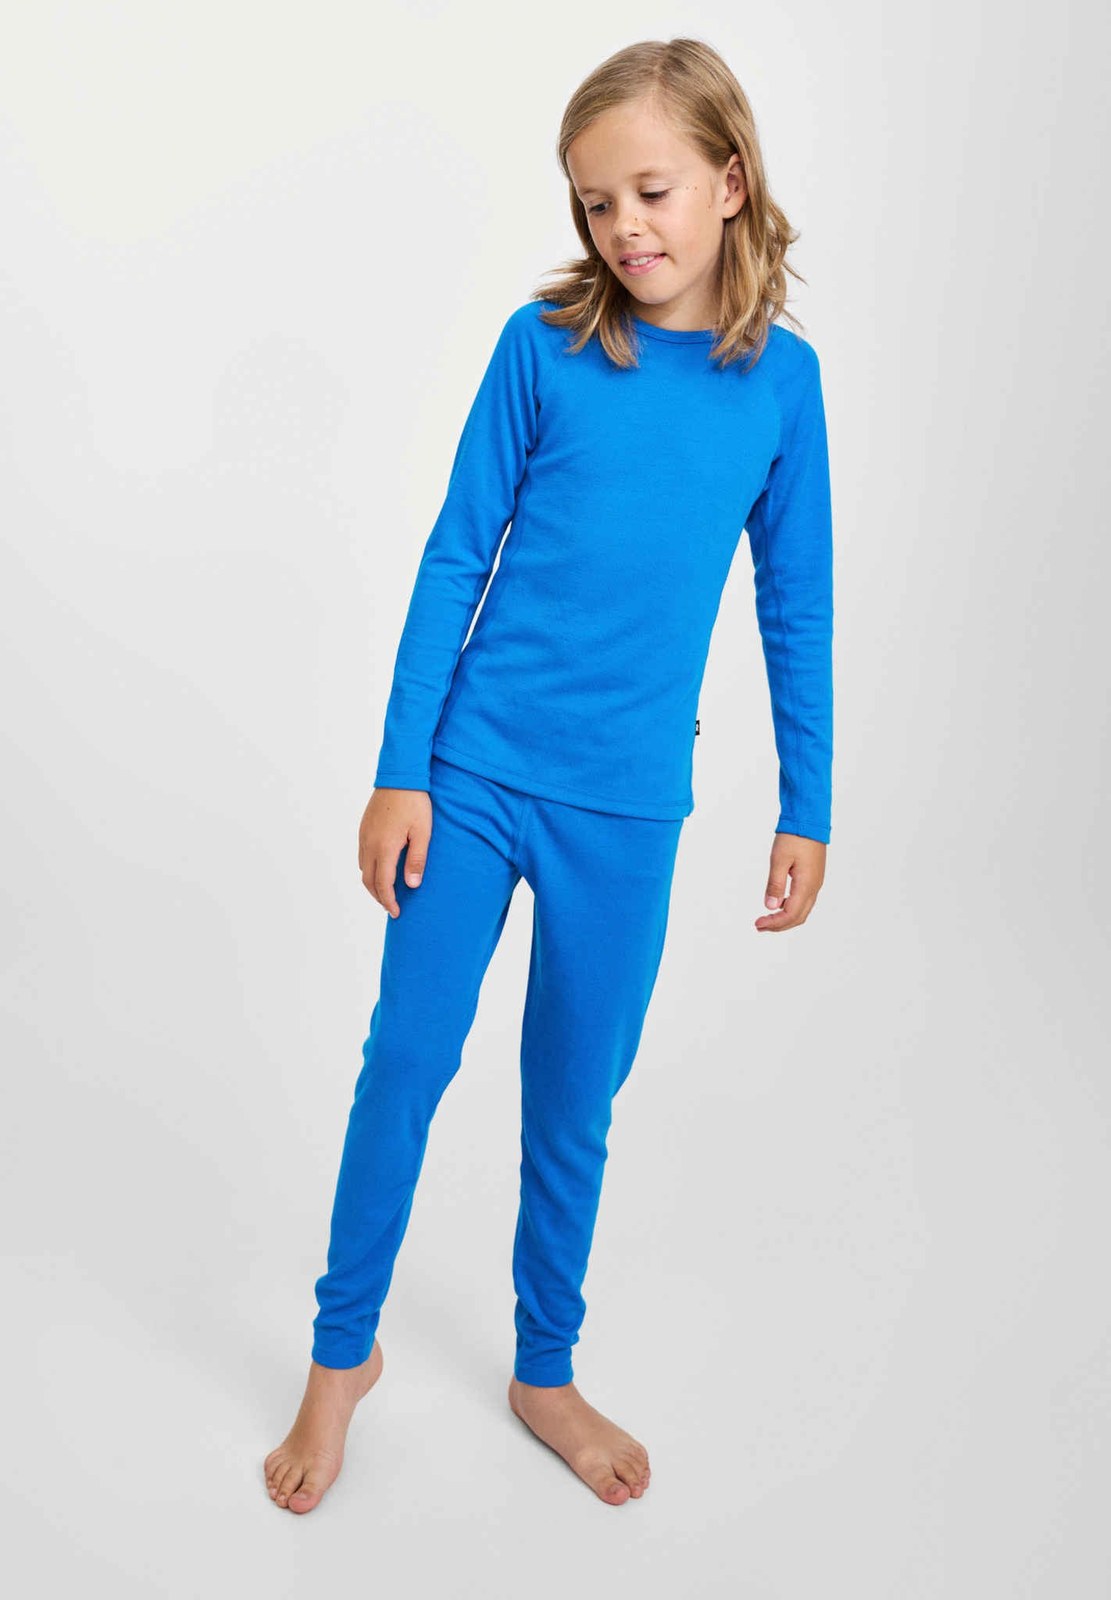
A base layer earns its place when it sits smoothly, moves without twisting, and can be changed without drama. Before travel, check seams, waist, cuffs, and the way the fabric behaves under the planned outer layer. A set such as Reima’s Lani illustrates the role, but the product name is less important than a workable fit for the individual child. Try the complete combination during ordinary movement at home. Current fiber details, sizing guidance, care directions, and availability should always be confirmed on the merchant page before buying or packing.
Transfer note 04
Use the middle layer as the dial
The middle layer is the easiest place to change the system without rebuilding it. A light fleece or knit can travel in a packing cube that opens from the top, with each child’s item assigned a distinct color or label. Add it before a long wait; stow it before a heated rail journey if the child is becoming uncomfortable. Avoid turning every transition into a full wardrobe event. One accessible layer, one predictable place to put it, and one adult responsible for the change can keep a connection moving while still allowing useful adjustments.
Transfer note 05
Choose an outer shell for the day’s movement
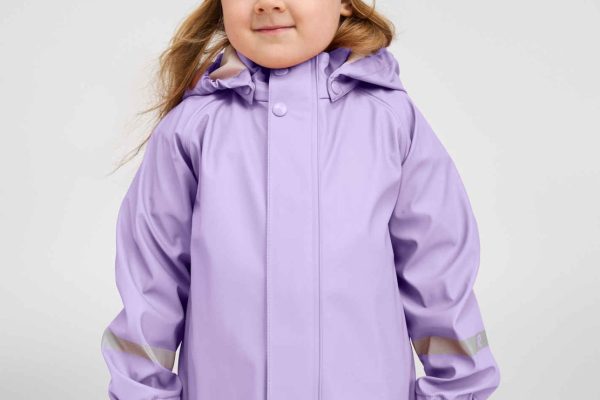
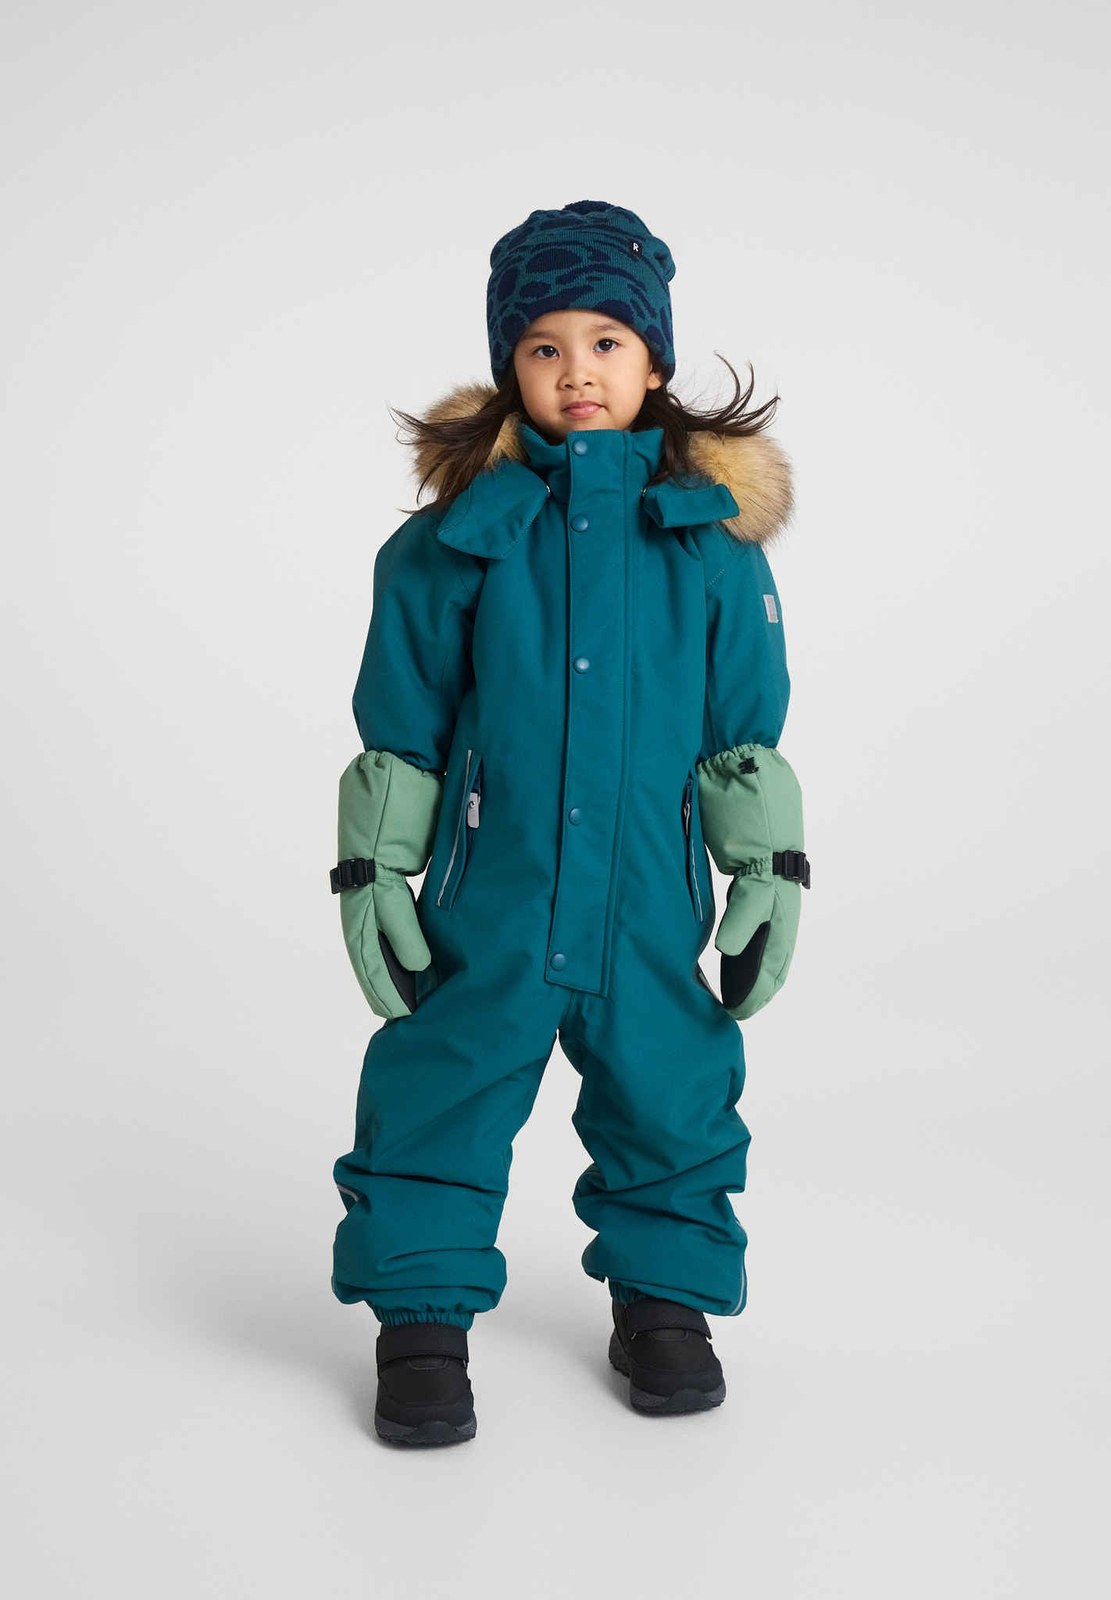
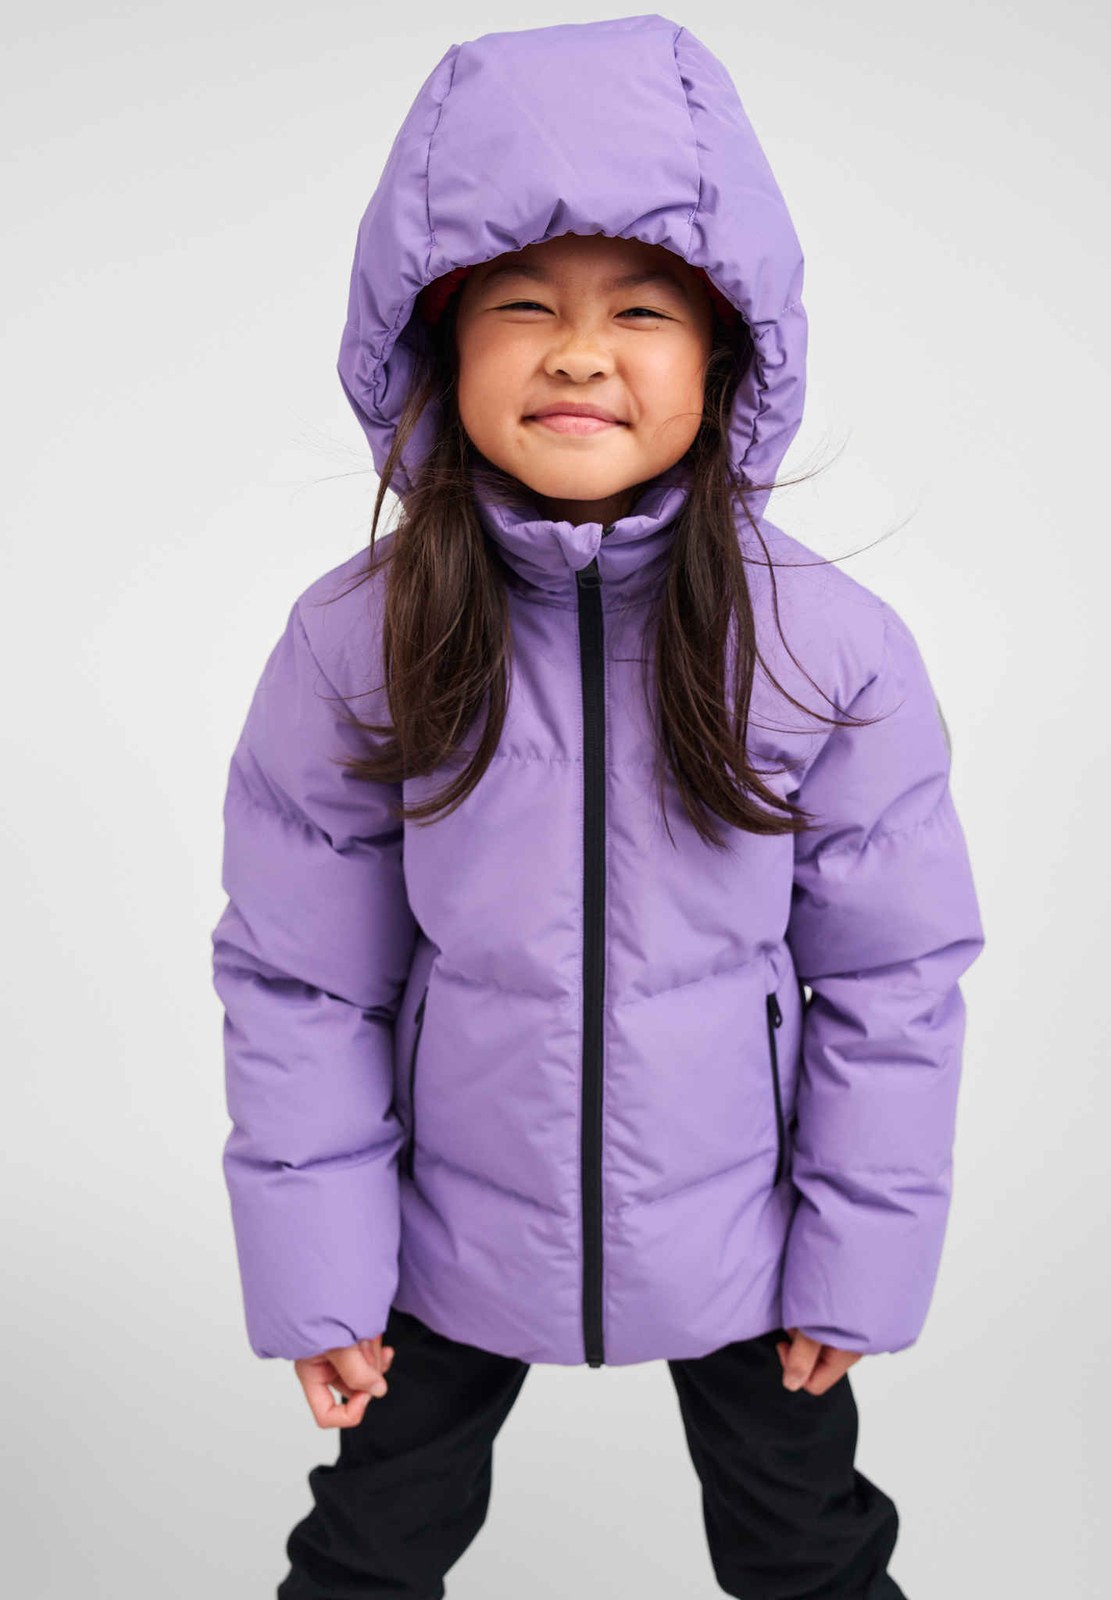
An insulated overall can simplify dressing for younger children who will kneel, climb, or sit in snow, while a jacket-and-trouser combination may be easier for toilets and indoor stops. The Stavanger image shows the coverage of a one-piece option, and the Paimio image shows a separate jacket approach. Neither format is automatically right for every route. Compare mobility, closures, hood design, boot overlap, and the child’s ability to manage the garment. Check the merchant’s current warmth, waterproofing, breathability, fit, and care information rather than inferring performance from a photograph.
Transfer note 06
Treat hands as a scheduled checkpoint
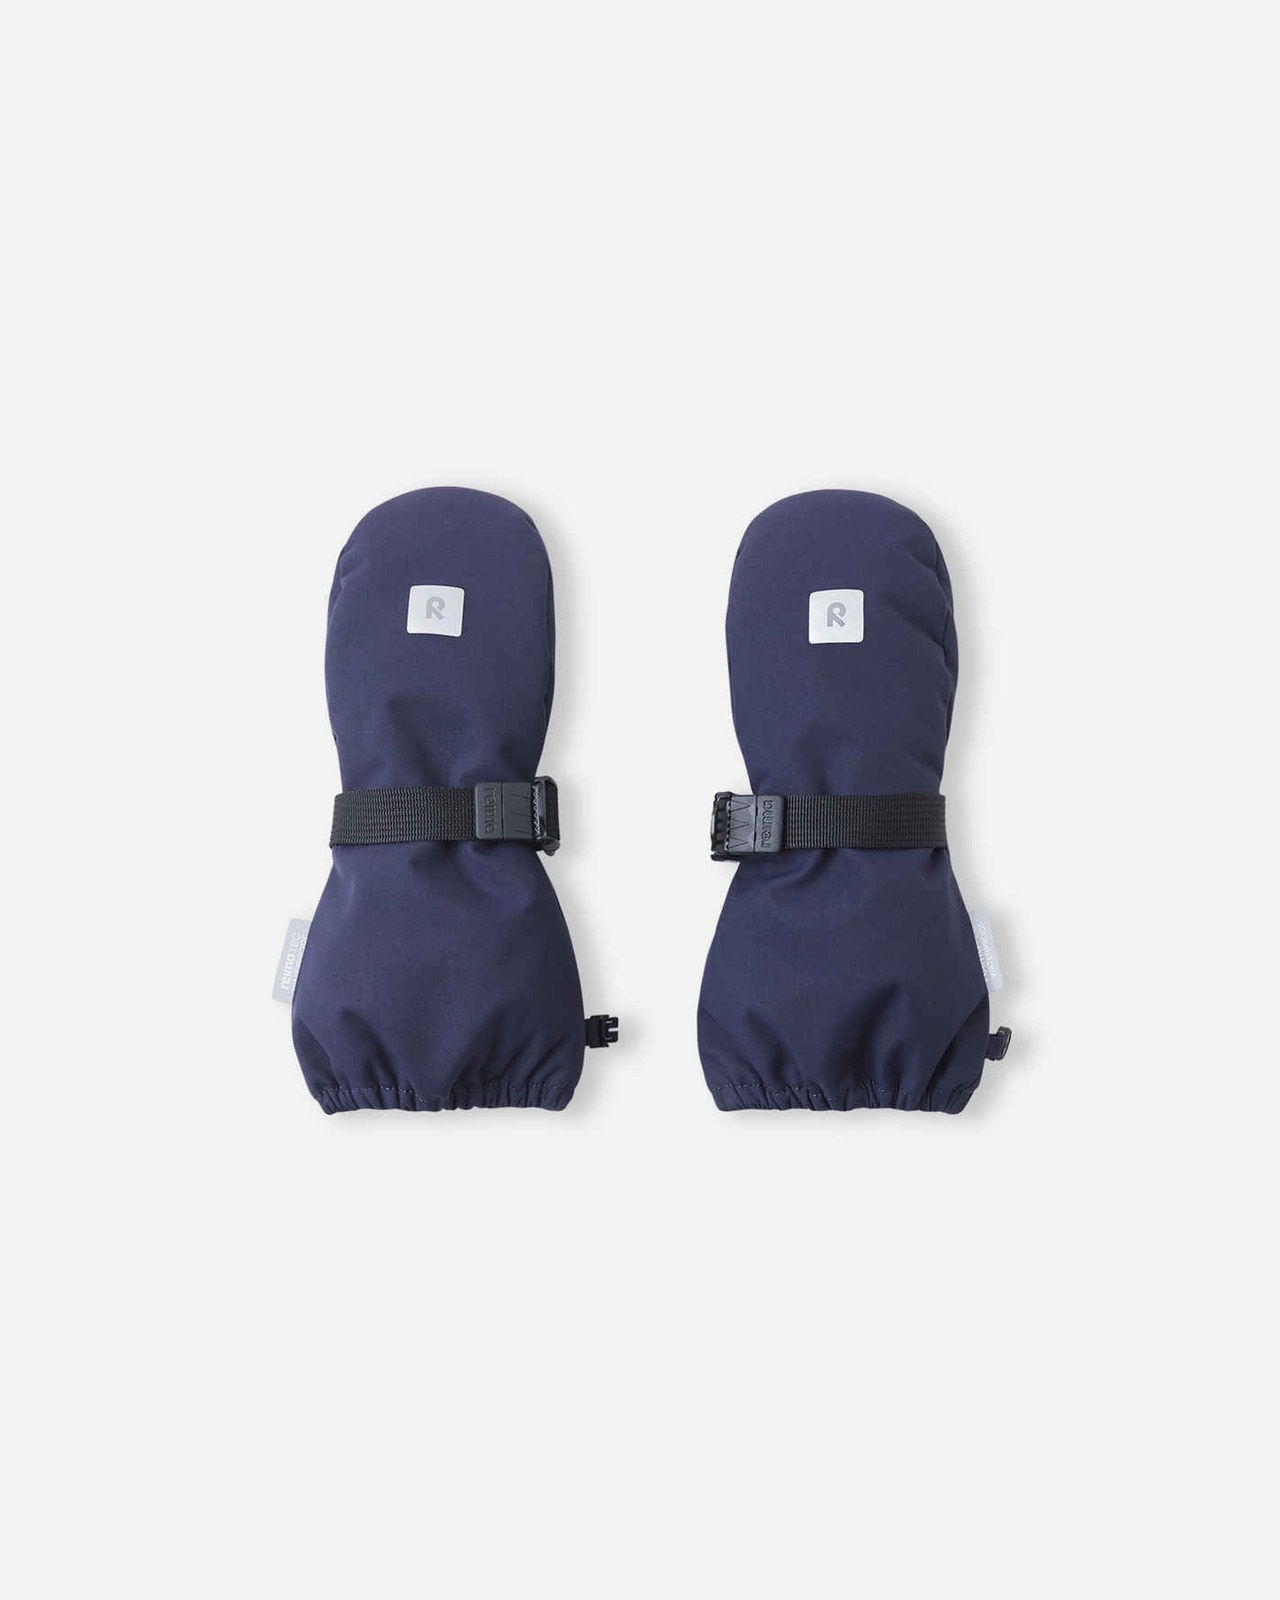
Mittens are easy to lose and hard to replace once a shuttle has departed. Pack the first pair where they can be reached while standing, then place a clearly separated spare pair in the adult day bag. The Ote photograph is a useful prompt to inspect wrist adjustment, cuff length, and how the mitten meets the sleeve. Ask the child to grip a bottle and hold a rail while wearing the selected pair. Recheck fingers after waiting or active play. Product specifications can guide selection, but real-time observation and the child’s feedback remain important throughout the day.
Transfer note 07
Plan the platform change before leaving
A transfer works better when everyone knows which changes happen before the doors open. Five minutes before arrival, gather hats and mittens, close the day bag, and move only the next required layer into reach. Let the child finish a drink before dressing hands. Adults can put on their own outerwear first so they are ready to help without dropping tickets. On the platform, move to a sheltered legal waiting area if one is available and keep the group clear of the edge. The goal is an orderly sequence, not a race against the weather.
Transfer note 08
Handle the car segment separately
Vehicle travel deserves its own decision rather than an assumption carried over from the platform. Follow the child-restraint manufacturer instructions, the vehicle manual, and applicable local safety guidance when deciding what a child wears in a restraint. If a layer is removed for the journey, plan a warm, supervised place to make that change and keep the garment immediately available for arrival. Do not rely on a universal rule based only on garment bulk or outside temperature. The correct arrangement depends on the restraint, vehicle, child, and current official instructions.
Transfer note 09
Create a landing zone at the play stop
Arrival can be the messiest part of the day because excitement outruns organization. Before opening doors, name a meeting point and decide which adult handles bags and which helps children. Put boots, outerwear, and small accessories in a fixed order. If facilities allow, use a bench instead of dressing in a traffic lane or beside moving vehicles. Photograph nothing until the group is settled. A two-minute landing routine protects tickets, gloves, and patience, and it gives adults a moment to notice twisted cuffs, open closures, or a child who needs a different layer.
Transfer note 10
Watch for the shift from waiting to play
Children may feel cool while standing and then heat up once climbing or pulling a sled. Build an observation pause into the first part of play. Look for changes in behavior, listen when a child reports discomfort, and adjust in a suitable sheltered place. Keep wet items away from dry spares inside the bag. No garment can remove the need for supervision, sensible activity choices, weather awareness, and timely breaks. If conditions become unsuitable, the best clothing decision may be to shorten the outdoor period and move to the planned indoor alternative.
Transfer note 11
Make lunch a reset, not a heap
At an indoor stop, give every damp or snowy item a defined place. Shake off loose snow where permitted, follow venue rules, and avoid placing gear on heaters or walkways. Open closures as appropriate and keep small accessories together in a breathable tote rather than scattered across chairs. Check the next departure time before ordering so the group does not rebuild its layers in a rush. Lunch is also the moment to assess whether the planned second outdoor period still suits the weather, the route, and everyone’s energy.
Transfer note 12
Pack for one useful failure
A day bag does not need a duplicate of the entire wardrobe. It needs a thoughtful answer to the most disruptive small failure. Depending on the trip, that may be spare dry socks, an extra mitten pair, a compact midlayer, or a bag for wet clothing. Add tissues, any personal necessities, and a simple label with contact details. Keep medication and essential documents according to their specific storage and security requirements. The point is to recover from an ordinary mishap without carrying so much that every transfer becomes slower and harder.
Transfer note 13
Use color and order to reduce friction
When several people are dressing at once, visual organization matters. Assign each child a packing-cube color, place accessories in the same pocket every time, and load garments in the order they will be used. A written checklist can be shorter than memory: base, mid, outer, hands, head, feet. Adults should know which items belong to which child before reaching the station. This small system also helps at the end of the day, when wet pieces, borrowed items, and souvenirs compete for space and attention.
Transfer note 14
Rehearse the reverse journey
The return transfer often happens when children are tired and daylight is fading. Decide in advance where snowy clothing will be removed, which dry layer is available, and who checks the seating area before departure. Count mittens as pairs, look beneath benches, and keep wet gear contained without sealing it away for longer than necessary. Verify the current transport schedule rather than assuming the outward timetable applies. A smooth return is part of the snow day, not an administrative detail after the enjoyable portion has ended.
Transfer note 15
Check the product facts at the source
Reima’s range can provide ideas for coordinated layers and weather-specific pieces, but photographs are only a starting point. Before purchase, verify current size charts, fit notes, warmth guidance, waterproofing statements, materials, care instructions, prices, shipping terms, returns, and availability directly with the merchant. Measurements and product details can change. Consider the child’s existing wardrobe and the actual itinerary before adding anything new. A strong system may combine familiar items with one carefully chosen piece instead of replacing everything at once.
Transfer note 16
Leave margin in the family timetable
The most practical snow-day accessory is time. Add minutes for toilet stops, slow closures, misplaced gloves, and a child who wants to explain exactly where a seam feels wrong. Choose connections that allow an orderly change rather than demanding perfect cooperation. Keep one indoor backup near the main route and decide the cancellation point before leaving. When the timetable has margin, adults can respond to comfort, weather, and safety information without turning every adjustment into a crisis. That is what makes the handoffs feel like part of the journey rather than obstacles between attractions.
Current collection
Compare pieces against the route you have planned
Browse the current Reima range, then check live sizing, fit, warmth, waterproofing, care, price, delivery, returns and availability before making a decision.
Explore Reima Winter GearAffiliate note: a qualifying order placed through this page can result in a commission. Confirm live merchant information and local journey conditions for yourself.